How to Install PVC Flooring for the Best Results?
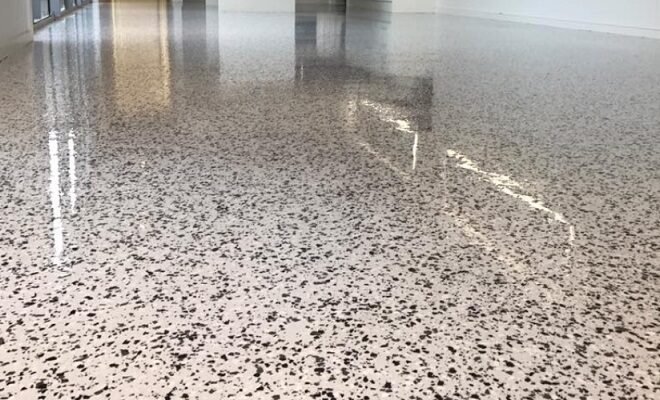
PVC flooring, known for its durability and versatility, is a popular choice for both residential and commercial spaces. Installing PVC flooring is a manageable DIY project if you follow the right steps. This guide will walk you through the process to achieve a professional finish.
Gather Your Materials and Tools
Before you start, ensure you have all the necessary materials and tools:
- PVC flooring planks or tiles
- Utility knife
- Tape measure
- Straightedge
- Adhesive (if required)
- Trowel (for adhesive application)
- Roller
- Cleaning supplies
Prepare the Subfloor
A well-prepared subfloor is crucial for a smooth PVC flooring installation. Follow these steps to get it ready:
- Clean the Surface: Remove any debris, dust, and old adhesive residues. A clean surface ensures better adhesion.
- Level the Subfloor: Fill in any cracks or holes with a suitable floor leveling compound. Sand down any high spots to create a level surface.
- Dry the Area: Ensure the subfloor is completely dry. Moisture can interfere with the adhesive and cause issues later on.
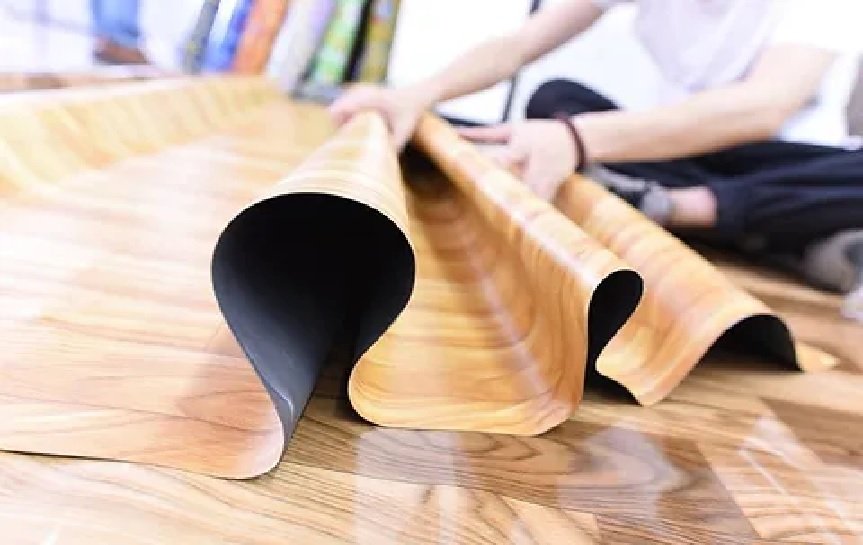
Acclimate the PVC Flooring
PVC flooring needs to acclimate to the room’s temperature and humidity. Lay the flooring planks or tiles flat in the room where they will be installed for at least 48 hours. This step helps prevent expansion or contraction after installation.
Plan the Layout
Planning the layout is essential for a professional-looking finish:
- Measure the Room: Use a tape measure to determine the room’s dimensions. Calculate how many planks or tiles you will need.
- Create a Layout: Start from the center of the room and work your way out. This method ensures a symmetrical appearance and avoids narrow pieces along the walls.
Install the PVC Flooring
Now, it’s time to install the flooring:
- Dry Fit the Pieces: Lay out the planks or tiles without adhesive to see how they fit. Make any necessary adjustments.
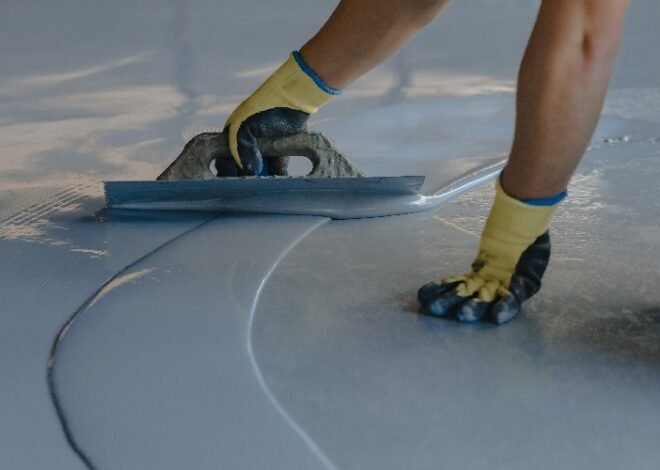
- Apply Adhesive: If using adhesive, apply it to a small section of the subfloor using a trowel. Follow the manufacturer’s instructions for the adhesive.
- Lay the Flooring: Start from the center and press the planks or tiles firmly into place. Use a roller to ensure good contact with the adhesive and remove any air bubbles.
- Cut to Fit: Use a utility knife and straightedge to cut the pieces to fit around edges and obstacles. Take your time to ensure precise cuts.
Finishing Touches
Once the flooring is installed, a few finishing touches will complete the job:
- Seal the Edges: If needed, apply a sealant to the edges to prevent moisture from seeping underneath.
- Install Baseboards or Trim: Reattach or install new baseboards or trim to cover the expansion gap along the walls.
Allow Time to Settle
After installation, avoid heavy traffic on the new floor for at least 24 hours to allow the adhesive to cure properly. This step ensures a secure and long-lasting installation.
Conclusion
By following these steps—preparing the subfloor, planning the layout, and carefully installing the flooring—you can achieve professional results.
Read more: https://rapidsurgeplus.com/